

Cooking foods outside on a grill over coals is one of my earliest food memories. I lived with my Grandparents as a kid and we caught a lot of trout. My Grandmother would simply season them inside and out, slip a slice or two of lemon into the cavity and wrap them in bacon and grill them over hot campfire with a funky grill propped on rocks. Delicious!
Grilling vs. Barbecue
These are two different techniques though they share some similarities. Grilling is quick short time cooking, generally directly over hot coals, of tender meats and vegetables. Using a ridged grill pan in the kitchen over high heat on the stovetop also falls into this category. Grilling is very much like sautéing or pan roasting except it has the additional benefit of a smoky flavor that comes from cooking over coals or a live fire (gas grills work too, see below).
To “barbeque” a term which is often used interchangeably with grilling is technically a different technique. Despite the fact that everyone uses the term “barbeque” to describe the typical cookout - - to barbeque (ask any Southerner) means to cook relatively tough and larger cuts of meat slowly over relatively low heat (250 degrees or so) with lots of smoke to both flavor and tenderize. The word comes from the Spanish barbacoa, which originally described the apparatus for slowly cooking or drying meats over an open flame. I don’t want to get too hung up in the differences, but it is useful to understand them.
Let’s debunk a few myths:
Myth # 1: Get your grill really hot so that you can sear meat (or whatever) first.
Use the 2-level method with a grill that has a cover (see above) to give your temperature control. Thicker cuts of meat benefit by doing the “reverse sear”, which is kind of a red neck sous vide. Start by cooking on the cooler side to warm the meat and bathe it in some smoke. Then move it to finish on the hot side to create that flavorful caramelization and color.
Myth # 2: Searing meat seals in its juices.
Meat is mostly water. High heat squeezes out this water and other flavorful juices. Sure, the surface gets crusty and brown, but it has mostly dried out. Try the reverse sear method instead.
Myth # 3: Marinades tenderize meat.
Marinades are a way of adding flavor, not tenderness. A marinade will not penetrate meat very far even if left in the marinade for hours so no “denaturing” (that is tenderizing) can happen.
Myth # 4: Cook poultry until the juices run clear.
You can end up way overcooking your meat. Harold McGee in On Food and Cooking, talks about this. He notes that the meat and juices in chicken, turkey, and even pork are water that is colored pink by the protein myoglobin. When myoglobin is cooked, its structure changes and the altered molecules no longer appear pink. The question is, at what temperature does myoglobin change.
Turns out there is no fixed temperature because other factors come into play, especially the acidity (pH) of the meat. Muscle pH differences are a function of genes, pre-slaughter stress conditions, and climate. So, the color of the juices can remain pink long after the meat is pasteurized and safe by cooking to 160 to 165°F or they could run clear before the meat is safe.
Bottom line is that color is not a reliable guide in any meat, only temperature is.
Some Final Tips
Be sure to have everything organized and next to the grill before you start cooking. More good food has been ruined by someone forgetting something and then having to run into the house to find it.
Keep a spray bottle full of water next to the grill to put out any grease fires and also too cool things down if you need to (including the cook!).
Always start with a clean grill and oil it lightly after it’s hot and before you place any food on it.
Remember that the hood is your friend! Unless you are cooking something that only takes a minute or two such as shrimp, close the hood. The convection created by the heat rolling around inside the hood will cook your food more evenly and quickly. Seems like men are the ones who need to watch the fire. No doubt something primal.
If you want to add some smoke the easiest way is to take chips (you don’t need to soak them first), wrap them up loosely but completely in heavy duty foil bag and poke holes in the bag. Place this right on the grill grate, close the hood and when it begins to smoke add your food. The advantage here is that you can remove the foil bag at any time and control the amount of smoke your food takes on.
To test to see if a grill is ready to cook on, many cooks use the “open hand test”. Hold your hand about 6 inches above the grill and count four seconds. If you’re successful, the fire is ready. If you must move your hand sooner the fire is too hot and if you can hold it there longer, the fire is too cool.
There are lots of ways to add flavor to the foods that we grill by using marinades, rubs, mops and sauces. Rubs can be as simple as good salt and freshly ground pepper that are rubbed onto the food before grilling. Mops are mixtures that are mopped on as the food cooks on the grill and sauces are either put on just as the food finishes cooking or served on the food at the table.
Ok . . let’s cook something!

GRILLED BRINED SHRIMP WITH A GRILLED CORN SALSA
Serves 6
There are a couple of things going on in this recipe, which makes it interesting. As discussed above we have brined the shrimp before cooking them. Also note that we’re cooking the shrimp in the shell. This helps keep them moist in addition to imparting a lot of flavor to the shrimp meat. It goes without saying that you want to use good hardwood charcoal to impart a sweet smoky flavor. The salsa can be made up to a day ahead. You can also prepared both the shrimp on the corn for the salsa using a stovetop ridged grill pan.
For the Brine
1/3 cup each sea or kosher salt and brown sugar
1 quart cool water
For the Marinade
1/4 cup light olive oil
2 teaspoons finely chopped or pressed garlic
1 tablespoon chopped parsley
1/4 teaspoon red pepper flakes (or to taste)
2 tablespoons dry white wine
1- 1/4 pounds large shrimp (16 – 20 size) or enough for 4 shrimp per person
Grilled Corn Salsa (recipe follows)
Garnish: Avocado slices and sprigs of cilantro
Prepare brine by stirring salt, sugar and water together until dissolved. Add shrimp in their shells and refrigerate for 1 and up to 4 hours. With a pair of scissors cut the shrimp down the center of the back all the way to the next to last tail section. With a sharp knife, butterfly the shrimp in their shells making an incision along the length on the back where the shell is cut. Remove sand vein and rinse. Combine the marinade ingredients, coat the shrimp and marinate for up to 1 hour.
Grill shrimp on both sides over medium hot coals until they are just cooked through and shells are slightly charred, about 4 minutes total. Place shrimp on plates and top with prepared grilled corn salsa, avocado slices and cilantro sprigs. Serve warm or at room temperature.
Grilled Corn Salsa
Makes approximately 3 cups
2 large ears sweet corn
1 each large red bell and poblano peppers, halved with stems and seeds removed
1 small jalapeno pepper; halved, seeded and stemmed
1 medium red onion, peeled and halved
4 tablespoons olive oil
Sea salt and freshly ground pepper
2 tablespoons fresh lime or lemon juice (or to taste)
2 teaspoons honey (or to taste)
1/3 cup chopped cilantro or basil leaves or a combination
Brush the corn, peppers and onion with 3 tablespoons of the olive oil and season generously with salt and pepper. Place vegetables on a medium hot grill and cook on all sides until just beginning to color. Remove, cool and cut corn kernels from cob and place in a bowl. Pull as much of the skin as possible from the peppers, chop and add to corn. Chop onion and also add to corn along with rest of ingredients including remaining tablespoon of olive oil. Stir and allow flavors to marry for at least 30 minutes before using. Store covered in refrigerator for up to 3 days.
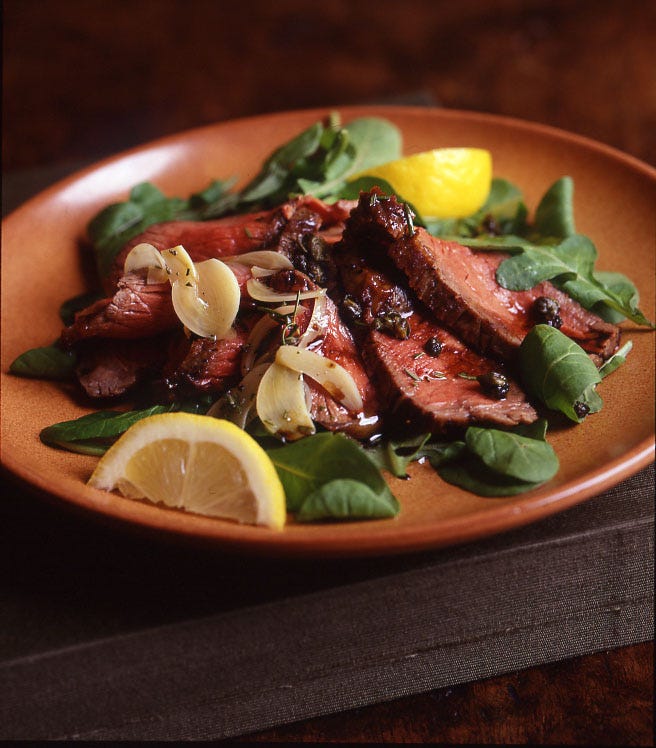
GRILLED BEEF “TAGLIATA” WITH ROSEMARY, CAPERS AND LEMONS
Serves 4 – 6
This is one of those very simple dishes that epitomizes the best of Italian cooking to my mind, perfectly grilled meat and spicy greens all bathed in a fragrant flavorful oil. Just a few great ingredients treated simply but the result is unforgettable. I still remember the first time I had this in a little roadside trattoria. Like all Italian recipes there are of course infinite variations, so here’s my version. Tagliata comes from the Italian tagliare, which means, “carved” or “cut”. It’s a technique in which the meat is cut into thin slices which produces a lot more surface area to drizzle on seasoned oils or condiments.
2/3 cup plus 2 tablespoons fragrant extra virgin olive oil
6 large cloves garlic, thinly sliced
2 tablespoons chopped fresh rosemary
2 teaspoons cracked black pepper
1-1/2 pounds New York strip steak or Sirloin, about 2 inches thick excess fat removed
Sea salt and freshly ground black pepper
6 cups lightly packed tender young arugula
Reduced Balsamic vinegar (method follows)
3 tablespoons fried capers (method follows)
Garnish: Lemon wedges
Add 2/3 cup olive oil along with the garlic to a small saucepan and over low heat cook the garlic until lightly browned and beginning to crisp. Off heat, stir in the rosemary and cracked pepper, set aside and keep warm.
Rub the steak liberally with the remaining olive oil and season liberally with salt and pepper. Grill steak over hot coals until rare to medium rare (Alternately you can do this on the stove top with a ridged grill pan and plenty of ventilation!). Transfer to a cutting board and let rest for 5 minutes or so.
Arrange arugula on a warm serving platter or plates. Slice the steak across the grain into thin slices. Arrange on top of arugula and pour the hot seasoned oil over the meat, which will begin to wilt the arugula. Drizzle with the reduced Balsamic vinegar and scatter the fried capers over all. Serve immediately with lemon wedges to squeeze over.
Reduced Balsamic Vinegar: This is a very simple process that can be done well ahead. All it involves is to take balsamic vinegar and over high heat reduce it by about 60%. It will thicken as it cools into a syrup that can be drizzled over all manner of things. Its advantage is that in this state it “stays put”. It can be stored at room temperature almost indefinitely.
Fried Capers: When capers are fried they take on a different flavor and texture, which I really like. All you need to do is to drain them well, pat dry with paper towels and then fry in small batches in ¼ inch or so of hot olive oil until the buds begin to open and are lightly browned. Drain on paper towels. As they cool they become crisp. Can be done a few hours in advance.
GRILLED PORK TENDERLOIN WITH CRANBERRY KETCHUP
Serves 4
I’ve included a rub in this recipe that is my all-purpose rub for meats, poultry and fishes. You could also just rub meat with a kosher salt and freshly ground pepper. The cranberry ketchup is simple to make and maybe it’ll even wean you away from tomato based versions.
2 one pound pork tenderloins
2 tablespoons olive oil
All purpose rub (recipe follows)
Cranberry ketchup (recipe follows)
Prepare to grill using the two heat level method described above. Rub the tenderloins with oil and then rub 2 tablespoons or so (or to your taste) of all-purpose rub gently onto meat. Grill directly over a hot fire turning a couple of times to develop a nice browned crust, about 5 minutes.
Once the tenderloins are well browned and seared, move to portion of grill where heat is lower and continue to cook until center of thickest part is just slightly pink, about 12 minutes. Remove and allow to rest for 3 or 4 minutes. Slice on the bias and serve with a generous spoonful of cranberry ketchup on each portion.
All purpose rub
Makes about 1 cup
1/3 cup sweet paprika
1/3 cup ground dried medium hot chiles such as ancho or guajillo or a mixture
2 tablespoons Kosher or sea salt
1 tablespoon ground cumin
2 teaspoons ground allspice
1-1/2 tablespoons sugar
Mix ingredients together. Store any unused portion tightly sealed in the refrigerator for up to 3 months.
Cranberry Ketchup
Makes about 2 cups
This is delicious served with grilled or roasted meats and poultry, as a sandwich spread and its great with special cheeses. If cranberries aren’t available you can use other berries or stone fruits like apricots or peaches. If using other fruits, which are sweeter than cranberries, you’ll want to reduce the sugar a bit.
12 ounces washed fresh or frozen whole cranberries, about 4 cups
1 medium onion peeled and finely chopped, 1-1/2 cups
3 tablespoons finely chopped garlic
1/2 cup red wine
1/2 cup wine or apple cider vinegar
3/4 cup sugar
1/2 teaspoon Chinese 5-spice
1/4 teaspoon red chile flakes
2 tablespoons soy sauce
Add all ingredients to a deep non-reactive saucepan. Bring to a simmer over moderate heat, partially cover, reduce heat and simmer gently for 30 minutes stirring occasionally. Mixture will be thick and reduced. With an immersion or regular blender puree the mixture and strain through a medium strainer, pressing down hard on the solids with a spatula. Store covered and refrigerated for up to 6 weeks or process in a water bath to store at room temperature for up to a year.
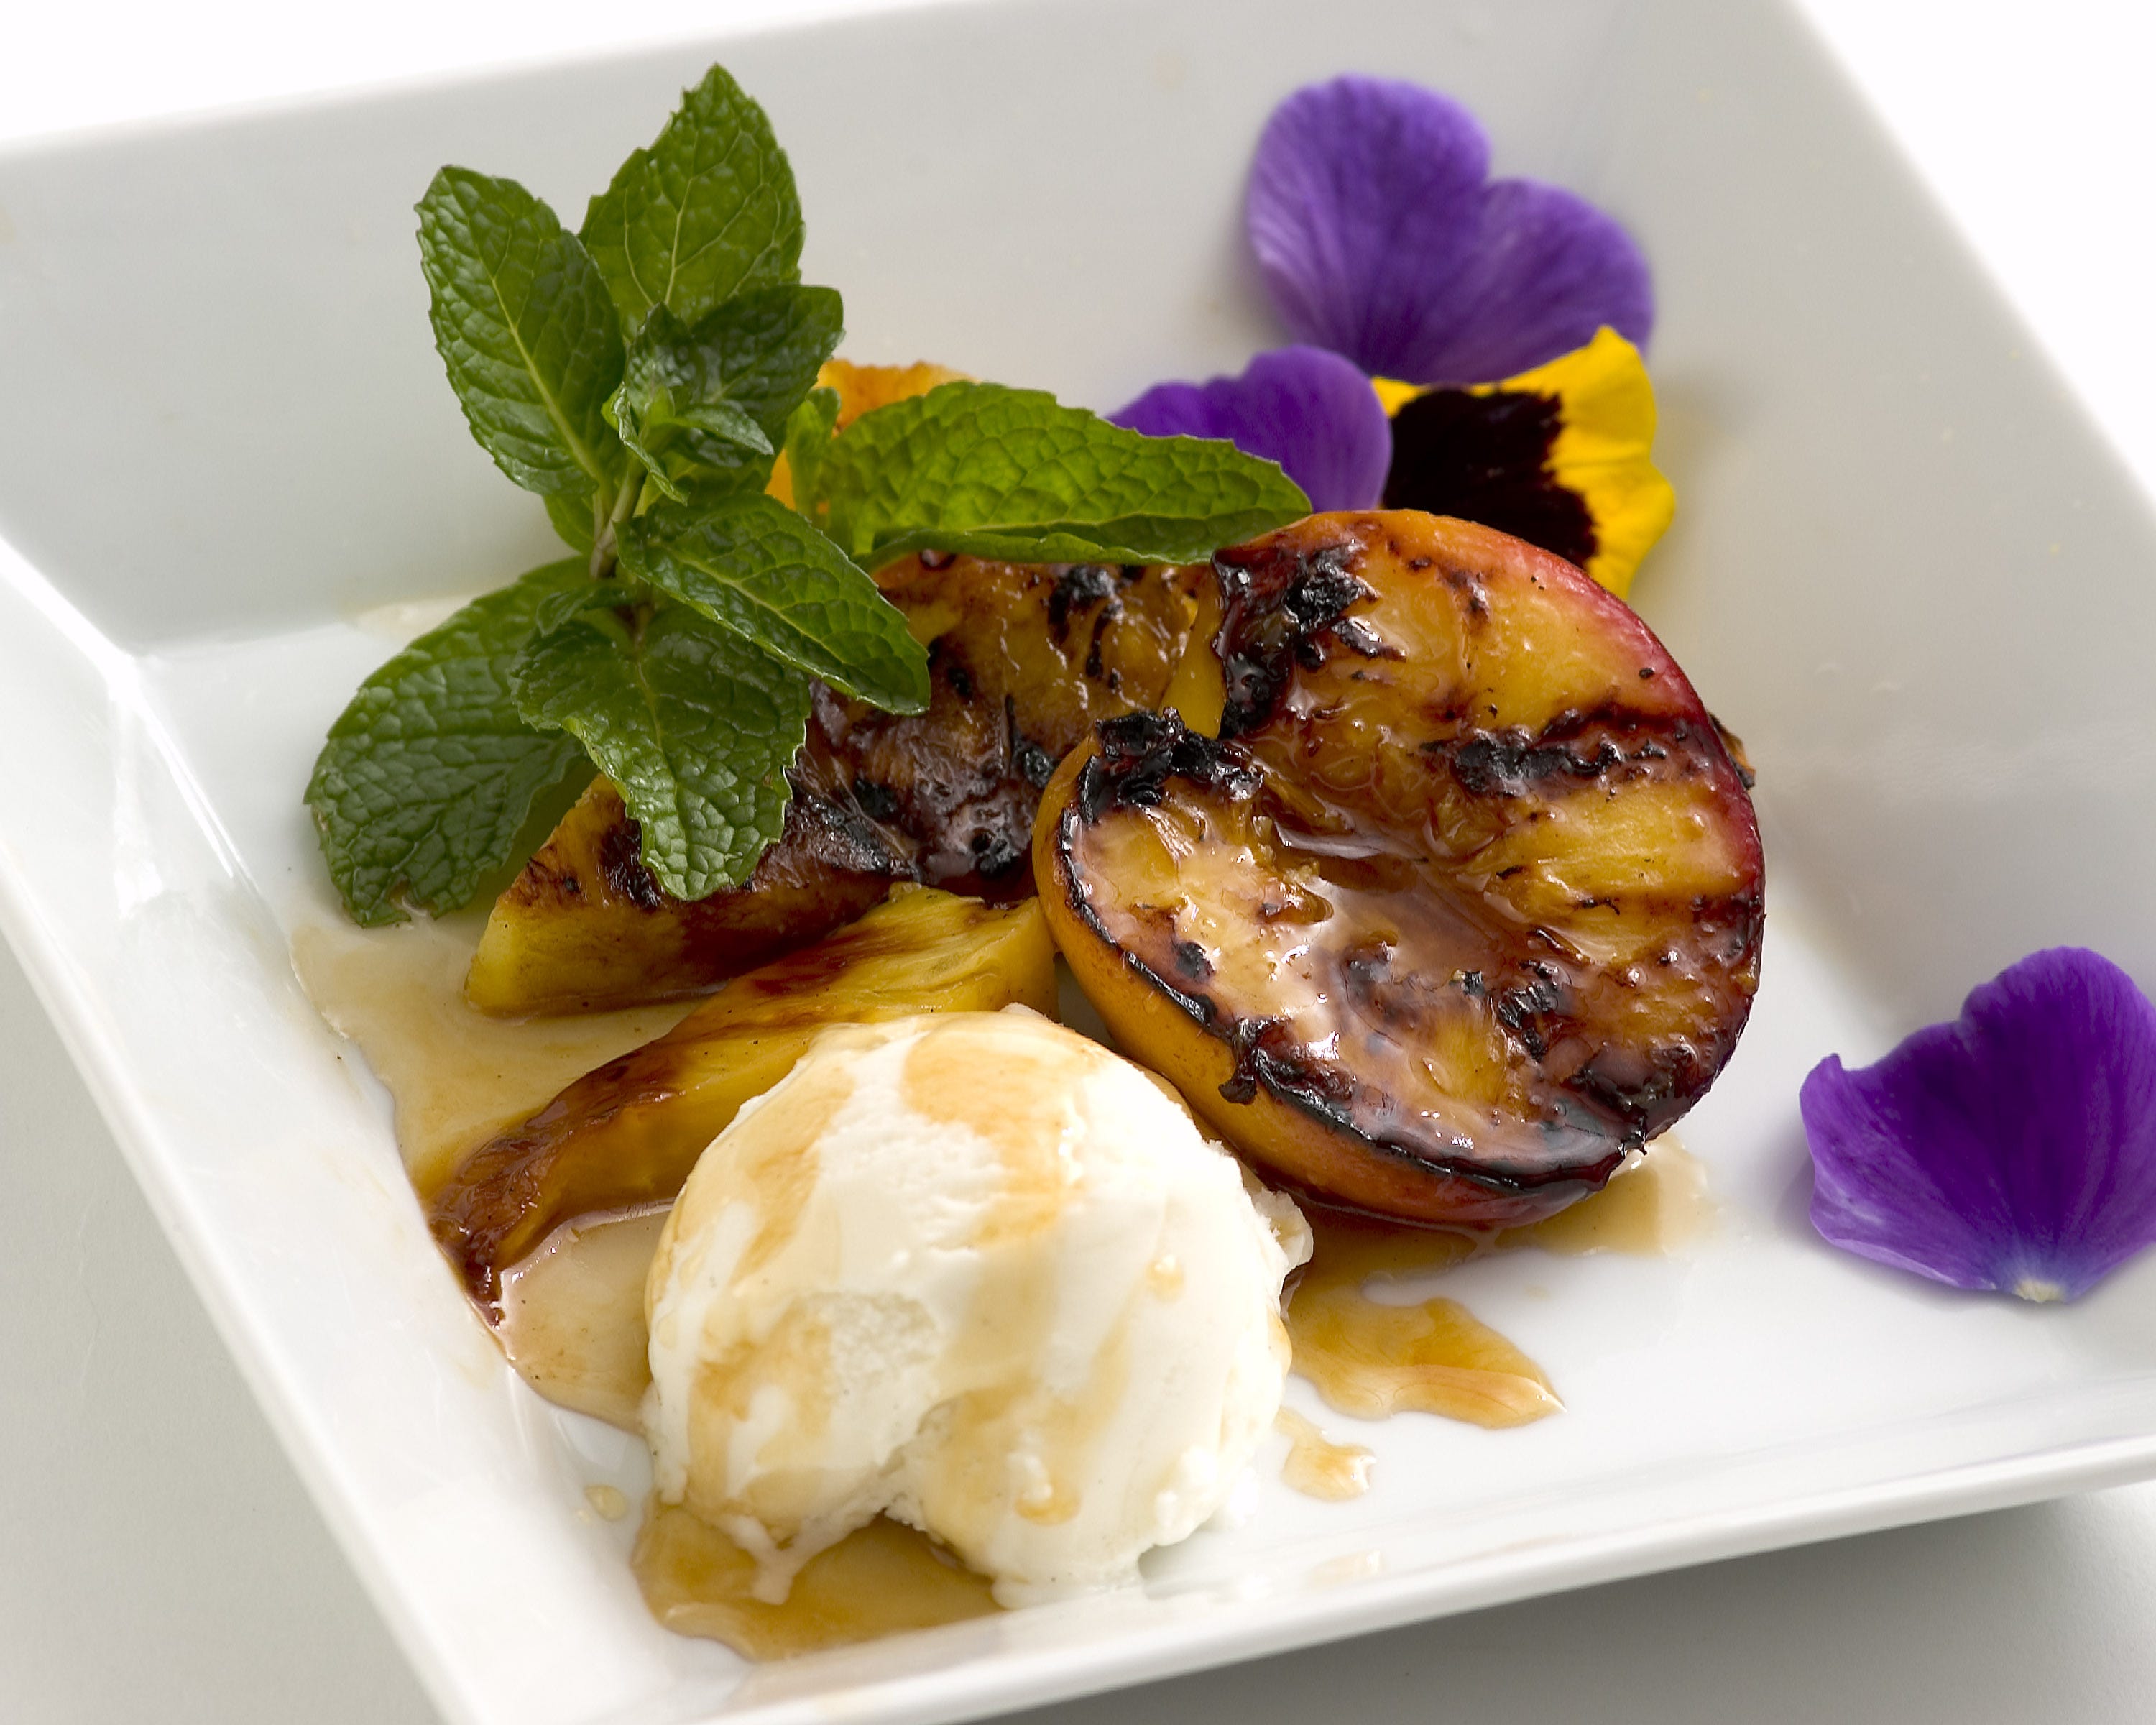
GRILLED PINEAPPLE AND NECTARINE SUNDAES
Serves 4
Any firm fruit can be grilled successfully. Grilling adds a delicious smoky flavor and the heat of the coals caramelizes both the natural sugars in the fruits as well as the sugar in the honey glaze.
1 small pineapple
Rum-lime glaze (recipe follows)
4 firm ripe nectarines, halved and pitted
Vanilla Bean ice cream
1/2 cup shredded sweetened coconut
Mint sprigs for garnish
Cut the pineapple in quarters and remove the core and outer shell. Brush with the glaze and grill over medium low coals, brushing as you turn the pineapple. Depending on the heat this will take 6 - 8 minutes or so. After about 4 minutes, brush the nectarines generously with the glaze and grill cut side down until lightly charred but still firm. Cut the fruits into attractive bite size pieces.
In a medium skillet toast the coconut over moderate heat stirring until golden, about 3 minutes. Set coconut aside to cool. Scoop the ice cream into bowls and top with the grilled fruits, a sprinkle of coconut and a drizzle of any left over glaze. Garnish with mint sprigs and serve immediately.
Rum-lime glaze
2/3 cup fragrant honey
1/2 cup dark rum
3 quarter size coins of fresh ginger
2 tablespoons fresh lime juice
Combine honey, rum and ginger in a small saucepan, bring to a simmer over moderate heat and reduce by half, about 4 minutes. It will look syrupy. Off heat stir in lime juice. Can be stored covered and refrigerated for up to a week.
John Ash 2025
My newest booklet, Essentials of Grilling, is now available. It includes more information on grilling, how to grill fish and seafood and eleven additional recipes.
Upgrade to paid to download Essentials of Grilling.
